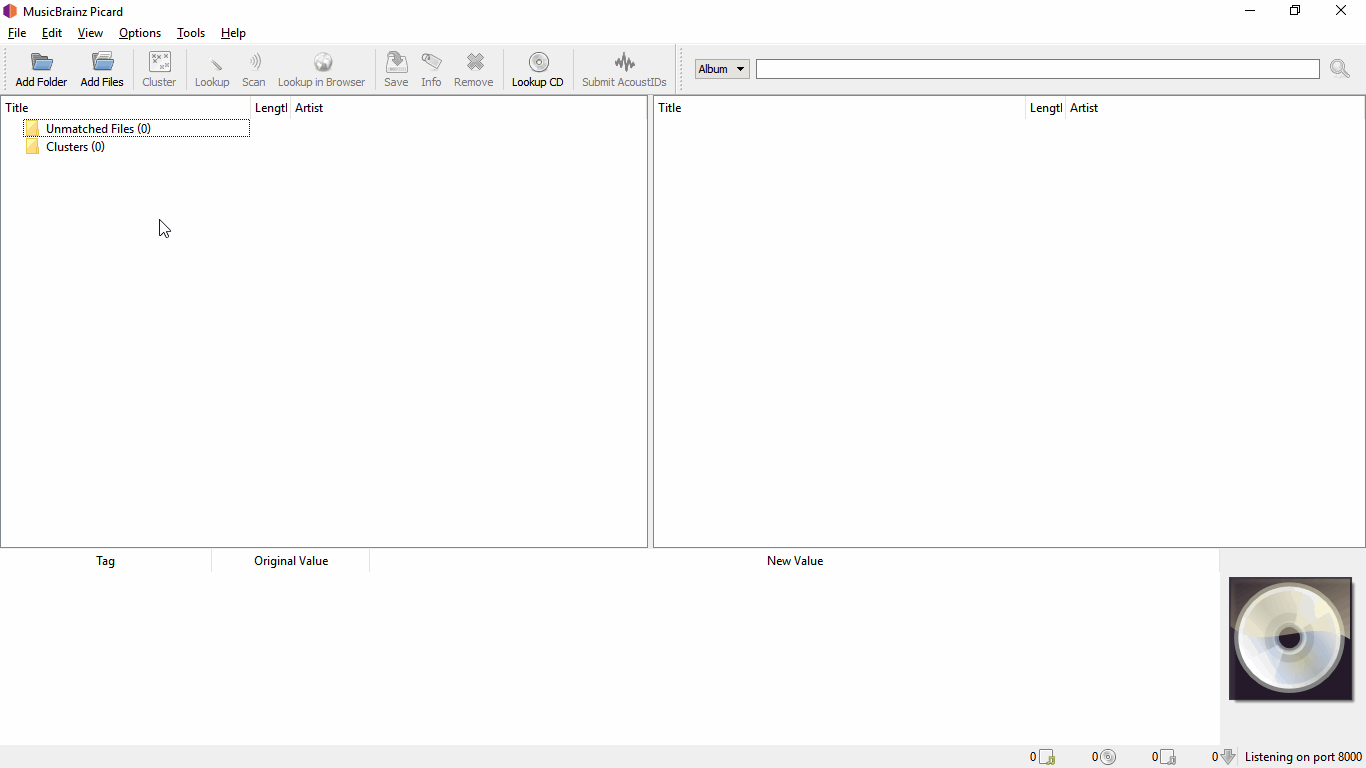
This quick start guide describes how you can tag your files using MusicBrainz Picard.
You should note - Picard is not built to be a mass single-track tag fixer. Picard believes in quality over quantity and provides a plethora of customizations to tweak music collections to your needs.
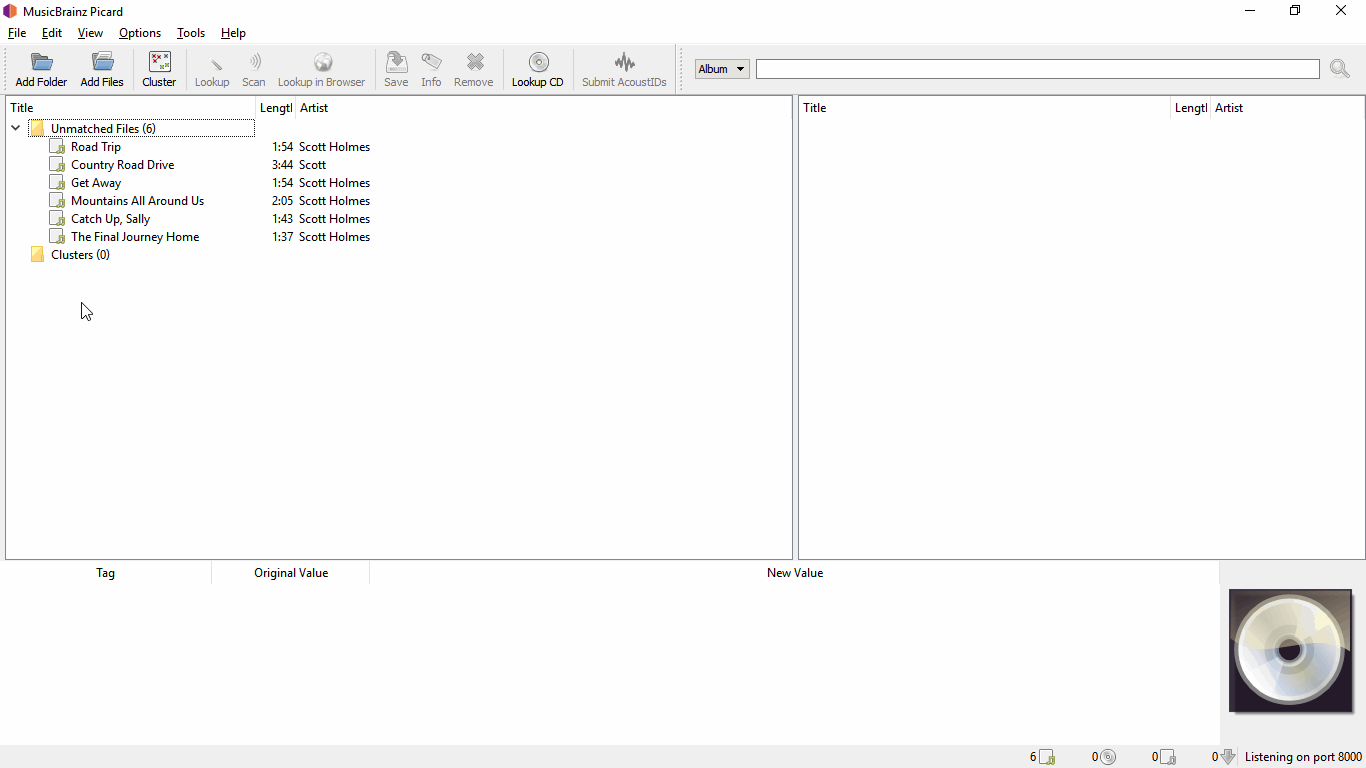

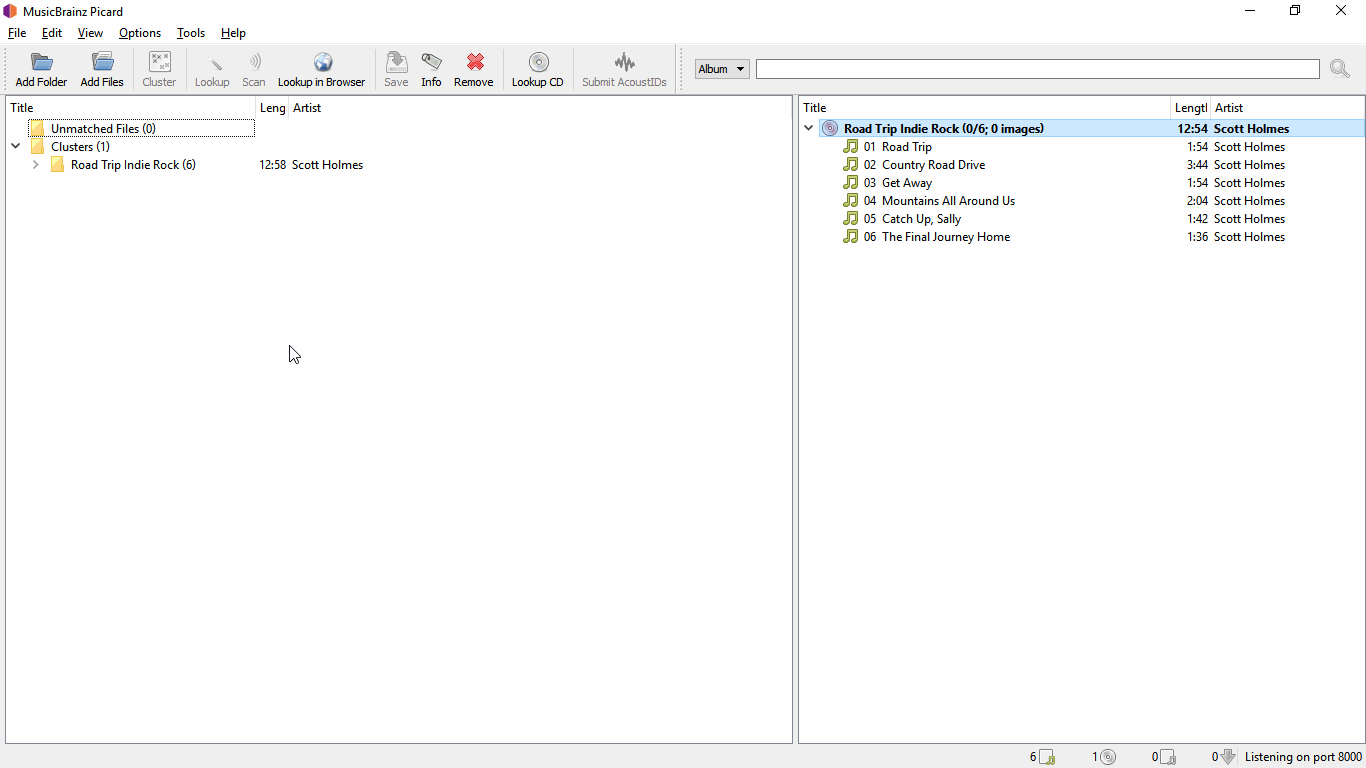
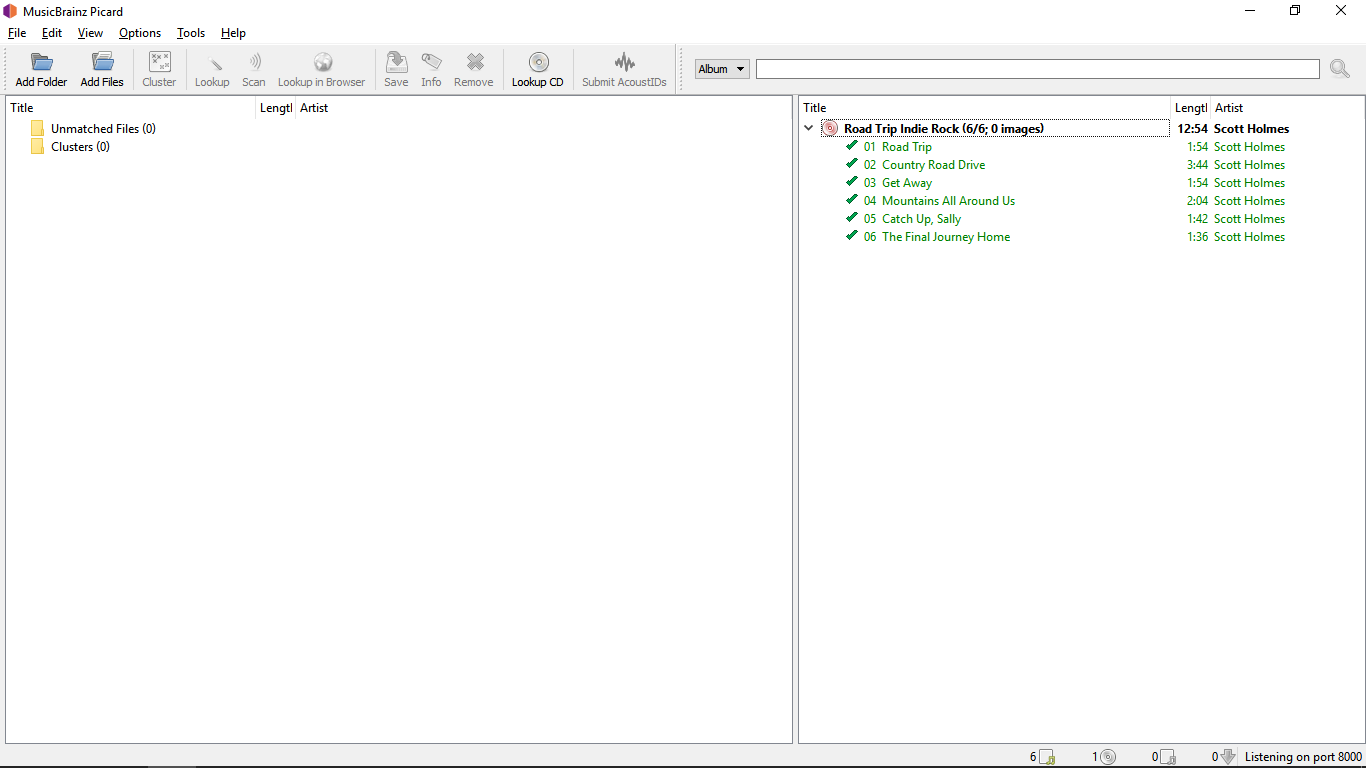
Depending on your previous metadata, Picard will try to guess the matching tracks. The order is green > yellow > orange > red, where green is the best match. If you are seeing a lot of red and orange, it could mean that Picard has guessed wrong, or that your files didn't have a lot previous metadata to work with.

If this is the case, it's recommended to click a track and compare the metadata using the Original Values and New Values at the bottom of picard window. If there is an incorrect match, simply drag & drop the track to its correct spot.
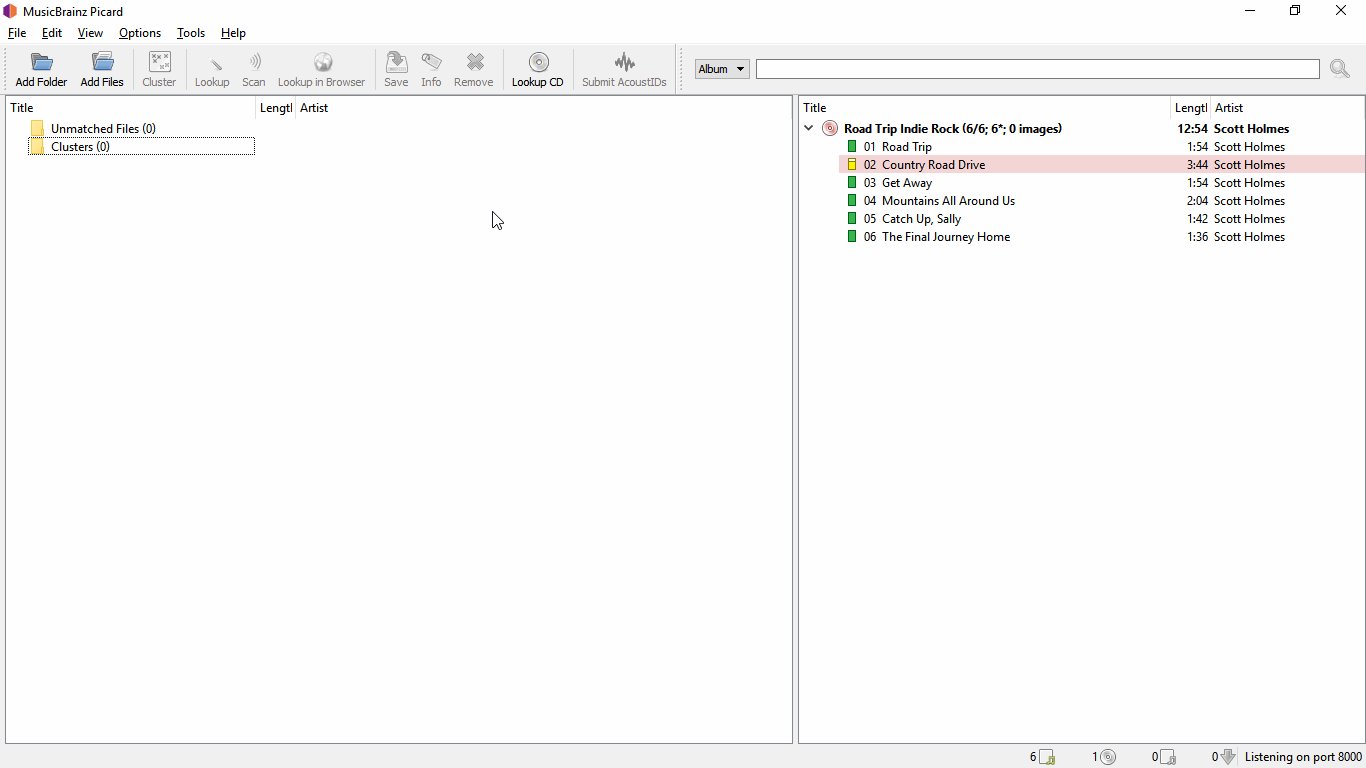
When you are satisfied with the matches, select the album you want to save and click on the Save toolbar button to save files.
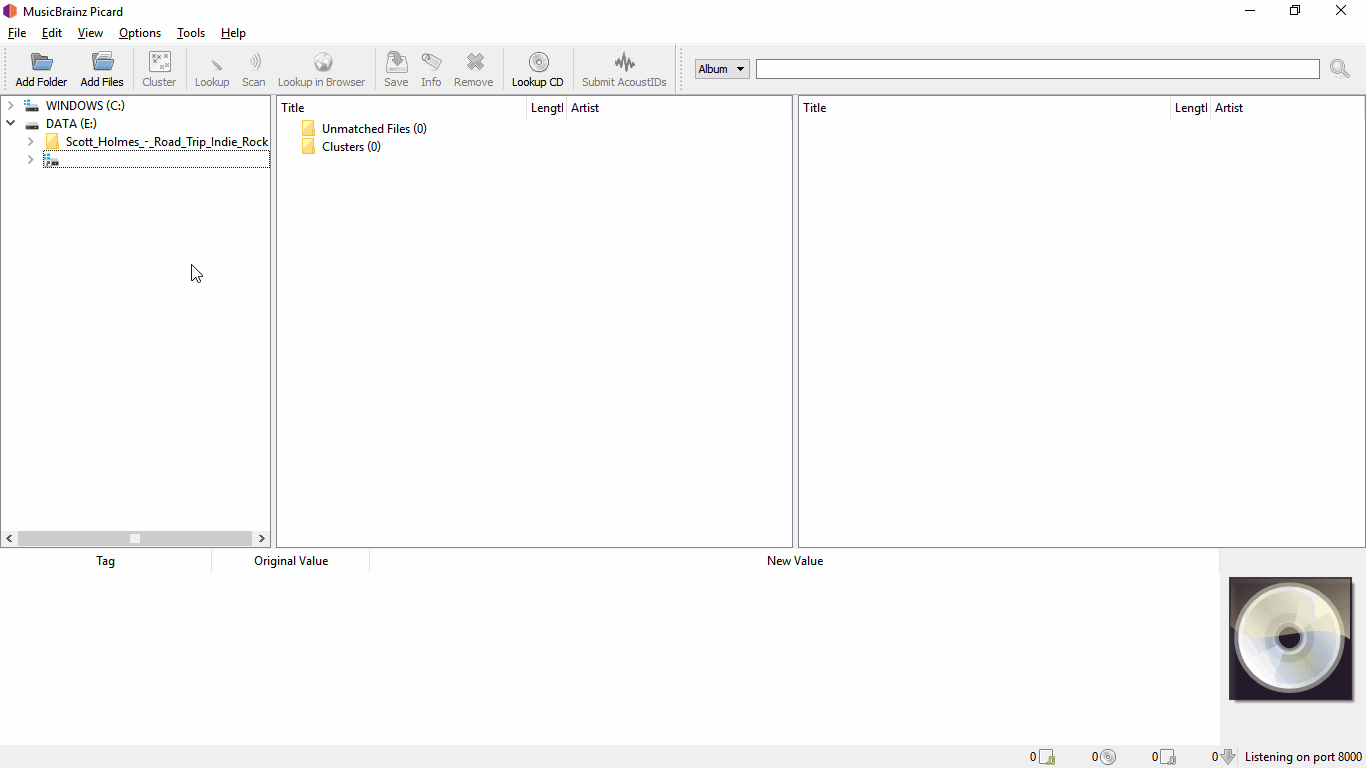
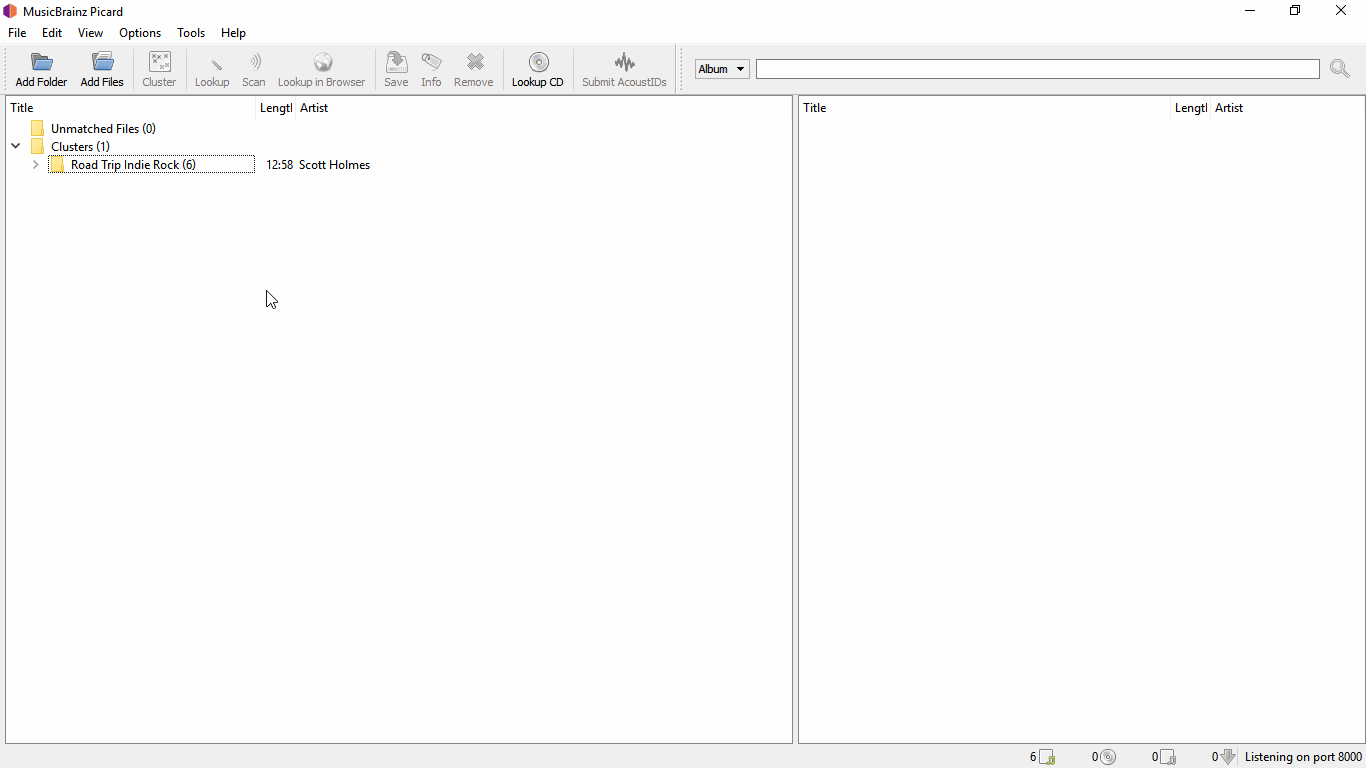
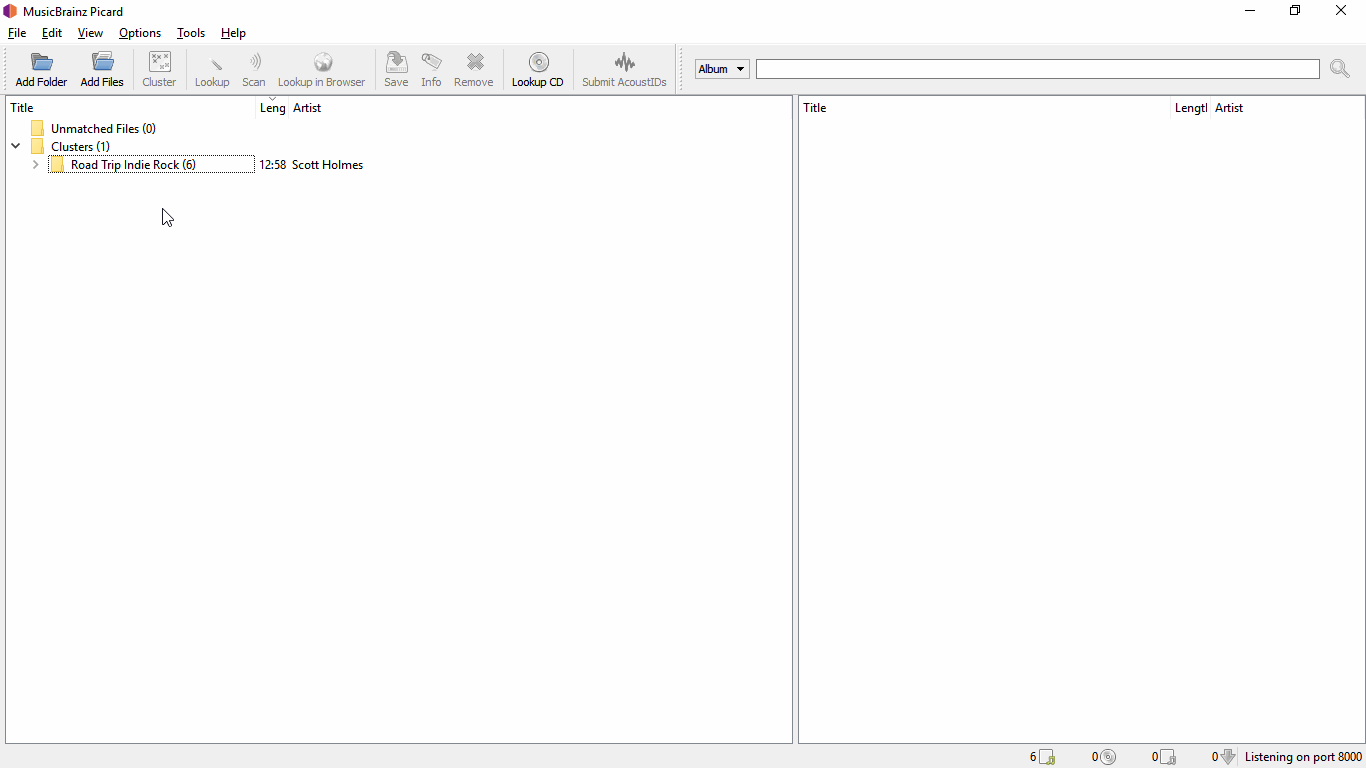
Picard helps you organize your music collection by renaming your music files and sorting them into a folder structure exactly the way you want it. A variety of plugins are available and you can even write your own. Picard supports a wide range of audio formats and can also lookup an entire CD for you.
Brought to you by ![]() MetaBrainz Foundation
MetaBrainz Foundation